GitHub Copilot vs Cursor: Comparing AI Agents and How Developers Can Use Them
Every developer is interested in boosting coding productivity and reducing bugs. With the recent surge of AI agent tools, it’s only natural to wonder, “Which tool is better for my development environment—GitHub Copilot or Cursor?” Both tools use artificial intelligence to assist coding, but they offer distinct features and user experiences.
By reading this article, you’ll get a clear overview of the core features, real-world usage, pros and cons, pricing, and practical scenarios for both GitHub Copilot and Cursor. This will help you set clear criteria for choosing the right AI agent and show you how to maximize the benefits of AI-powered automation as a productivity tool for developers.
Here’s what we’ll cover: First, we’ll compare the basic concepts and characteristics of GitHub Copilot and Cursor. Second, you’ll find step-by-step installation and sign-up guides so you can get started right away. Third, we’ll break down the essential features developers use most, with practical examples. Fourth, we’ll share real-world usage scenarios to show how these tools can be applied in your daily workflow. Finally, we’ll honestly analyze pricing, pros and cons, and recommend which users will benefit most from each tool.
Go to guideCompare ToolsSee the differences between GitHub Copilot and Cursor.What Are GitHub Copilot and Cursor? Introducing AI Agents and Their Features
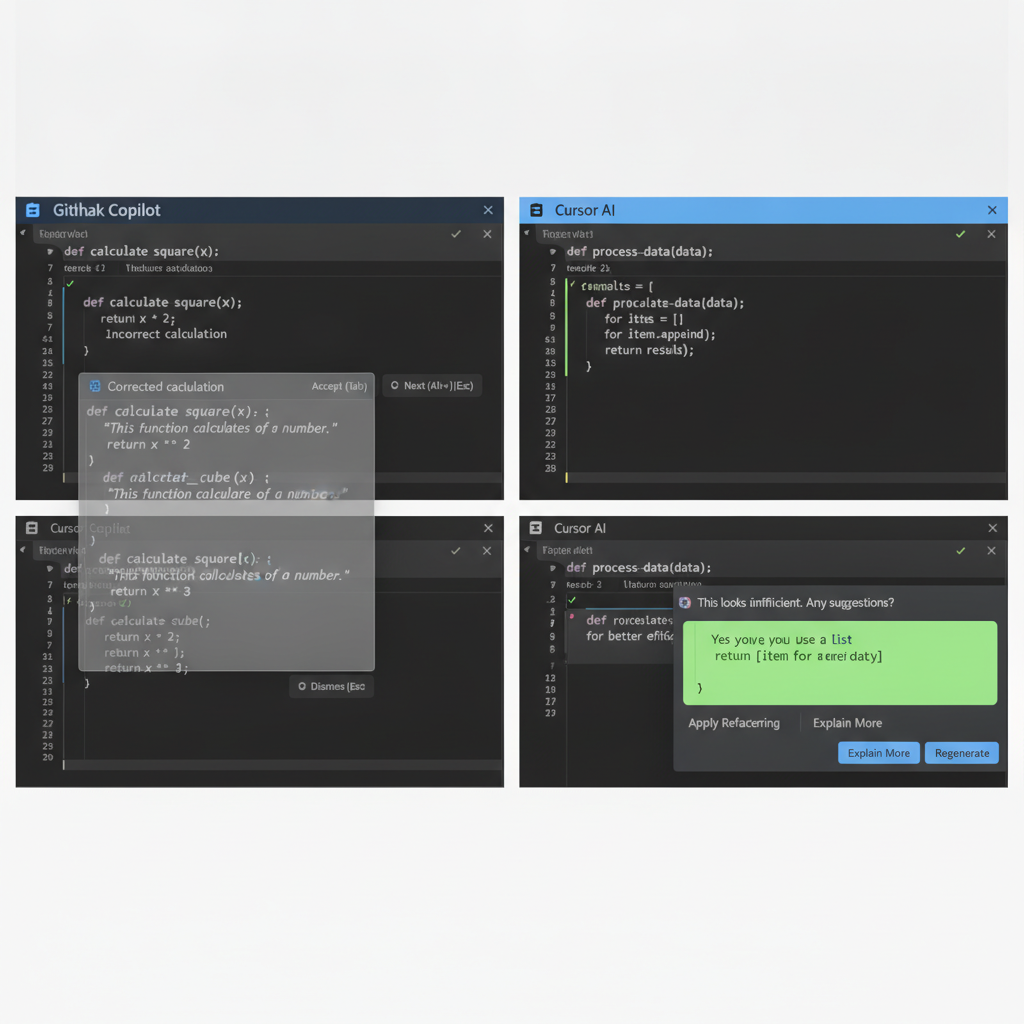
GitHub Copilot and Cursor are both AI-powered code assistant tools designed to help developers write code faster and more accurately. While both aim to leverage AI for productivity, they take different approaches and offer unique features.
While both tools are based on generative AI, their actual usage and focus differ. Let’s take a closer look at the strengths and weaknesses of each, and which tool might suit your development style best.
GitHub Copilot Official Website
Installation and Sign-Up: Getting Started Easily with GitHub Copilot and Cursor
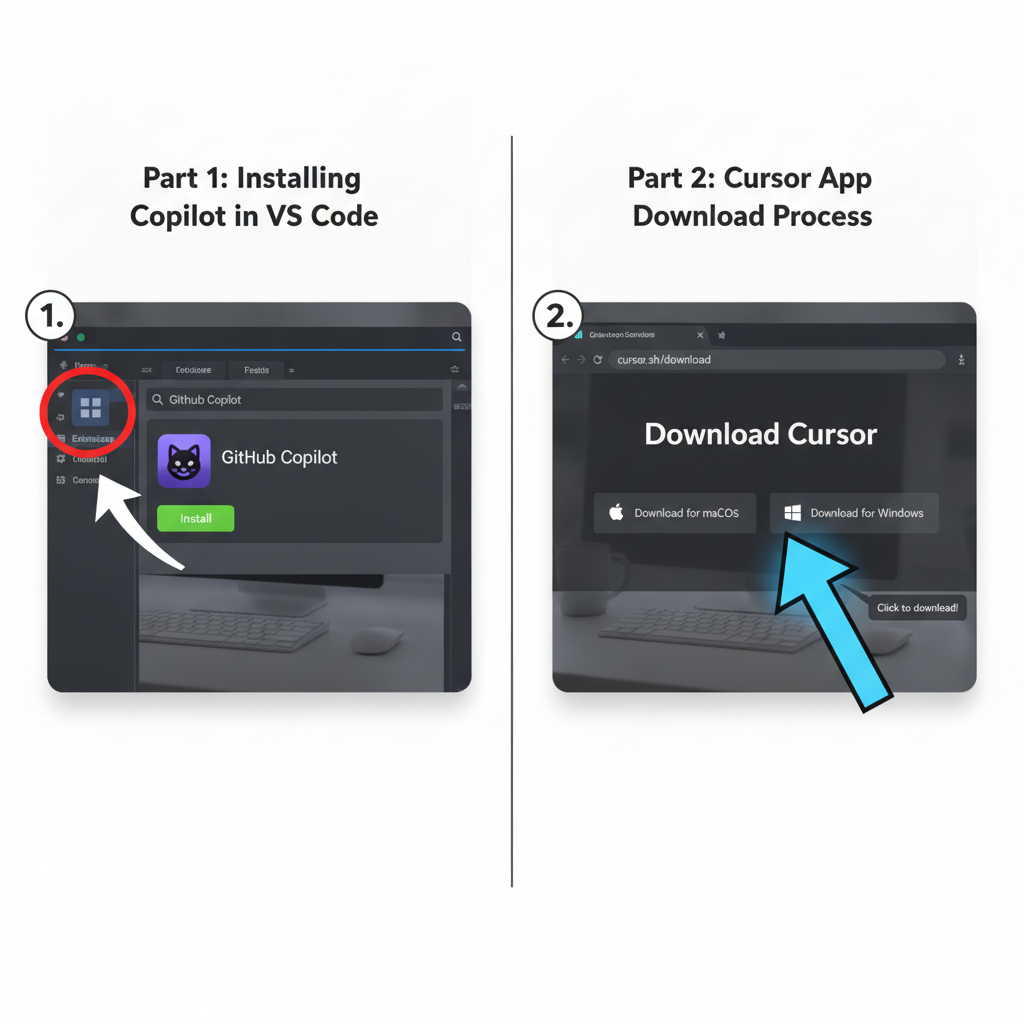
Both GitHub Copilot and Cursor are easy to install and sign up for. Here’s a step-by-step guide, so even beginners can follow along without hassle.
GitHub Copilot Installation/Sign-Up Guide
Since GitHub Copilot is linked to your GitHub account, create one at GitHub if you don’t have one already.
Download and install it from the VS Code official site.
In the VS Code Extensions tab, search for `GitHub Copilot` and install it.
After installing the extension, you’ll be prompted to log into GitHub and verify your subscription (free trial or paid plan).
Create a new file, select a programming language, and type a function name—AI suggestions will appear instantly.
Cursor Installation/Sign-Up Guide
Go to the Cursor homepage.
Register with your email, Google, or GitHub account.
Download and install the Cursor app for your operating system.
Start the app and follow the simple tutorial to activate AI code assistance.
You can use Cursor’s built-in editor or link it with VS Code and other IDEs.
Initial setup for both tools takes about 5–10 minutes, and once configured, you can immediately start boosting productivity with AI automation.
Key Feature Comparison: AI Tools for Coding Productivity
Code Autocompletion and Suggestions
Real-Time Error Detection and Correction
Code Review Assistance and Improvement Suggestions
Multi-Language and Framework Support
User Interface and Experience
Real-World Scenarios: Maximizing Developer Productivity
Based on hands-on experience using both GitHub Copilot and Cursor for personal projects and professional work, here’s how you can make the most of each tool.
Rapid Prototyping with GitHub Copilot
When testing a new web service idea, Copilot can auto-generate basic routing code and HTTP method handlers from just a function name, saving you significant setup time. This lets you focus on writing the core logic and speeds up development.
> Tip: The more descriptive your function names, the better Copilot’s code suggestions. For example, a name like `def get_user_info(user_id):` yields more accurate results.
Reducing Bugs While Coding with Cursor
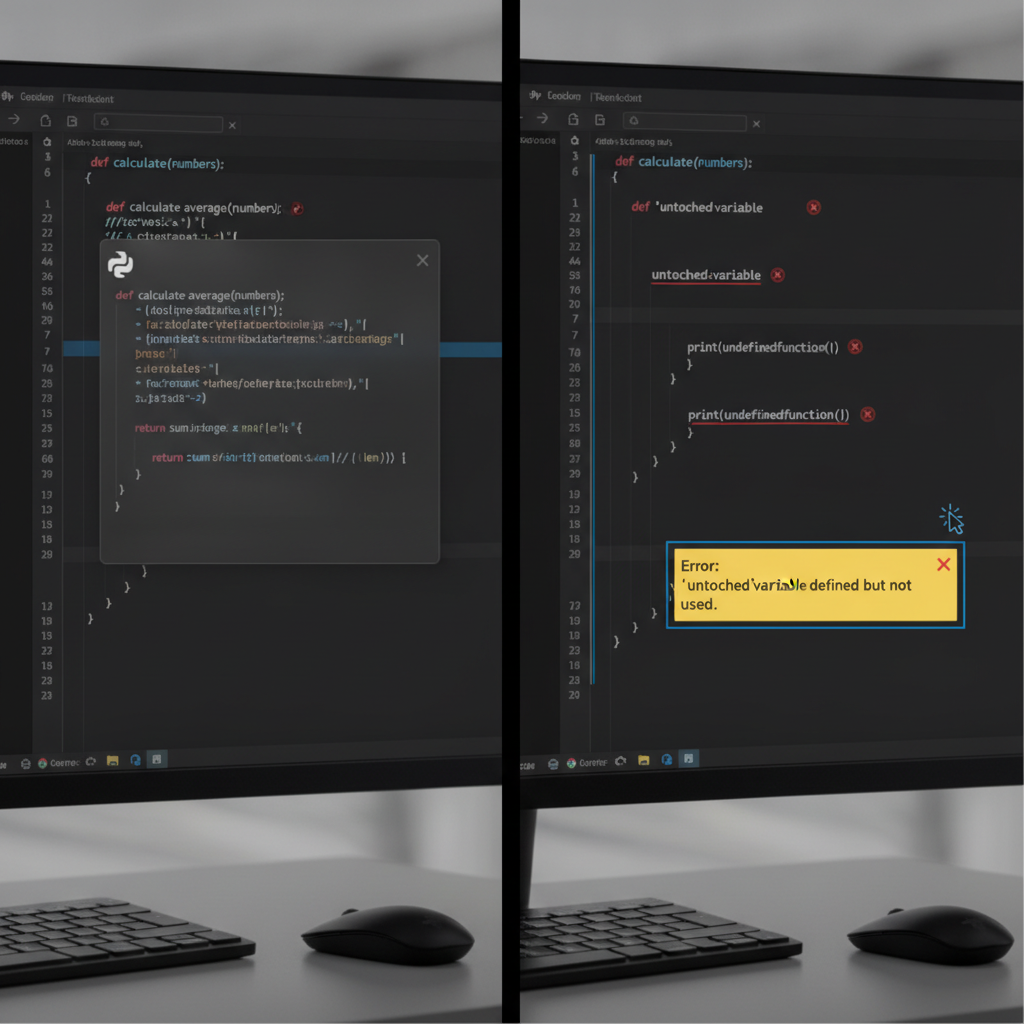
For team projects, using Cursor as the main code editor allowed us to catch and fix syntax and logic errors in real time as we wrote code. When working with asynchronous JavaScript functions, Cursor helped us quickly spot mistakes, greatly reducing debugging time.
> Note: Cursor’s feedback is generally accurate, but occasional false positives can occur, so it’s wise to double-check critical sections manually.
Using Both AI Tools Together
You can speed up initial code generation with Copilot and then use Cursor for code validation and review, achieving both time savings and higher code quality. Since the tools have different UIs, it’s efficient to use each where it fits best.
In practice, you might prototype new features with Copilot in the morning and use Cursor for code reviews and bug detection in the afternoon.

Pricing: Comparing Value from Free to Paid Plans
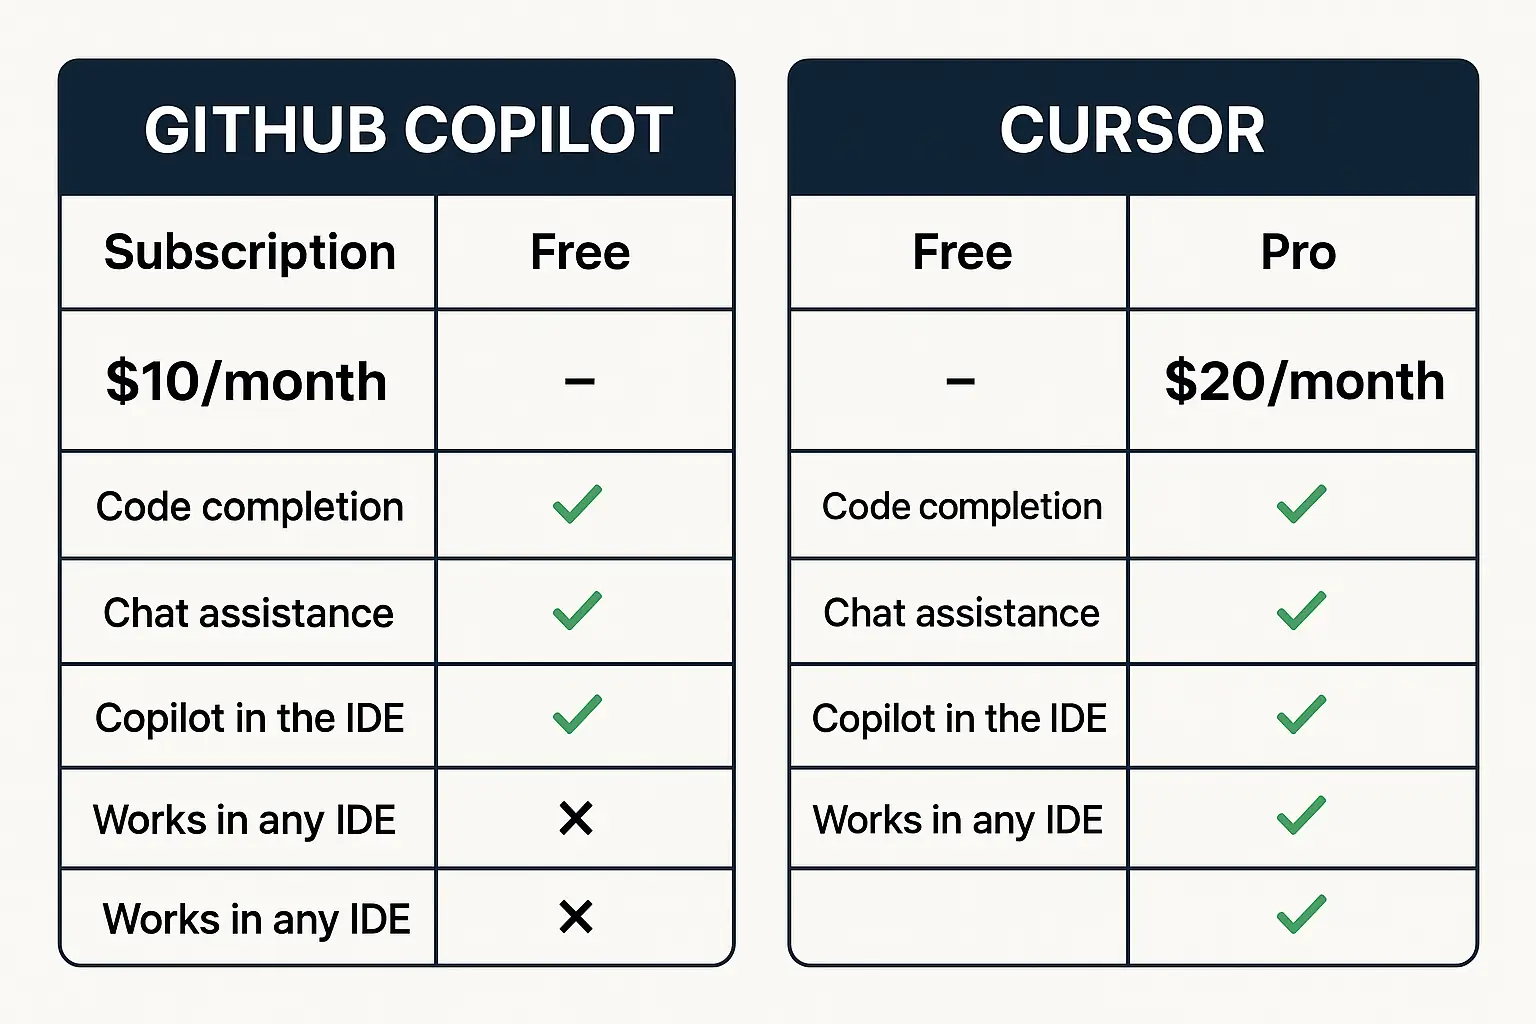
GitHub Copilot Pricing
Cursor Pricing
You can try GitHub Copilot’s free trial and Cursor’s basic features at no cost before deciding on a paid subscription. If you need team collaboration or advanced features, Cursor’s paid plan may offer better value.
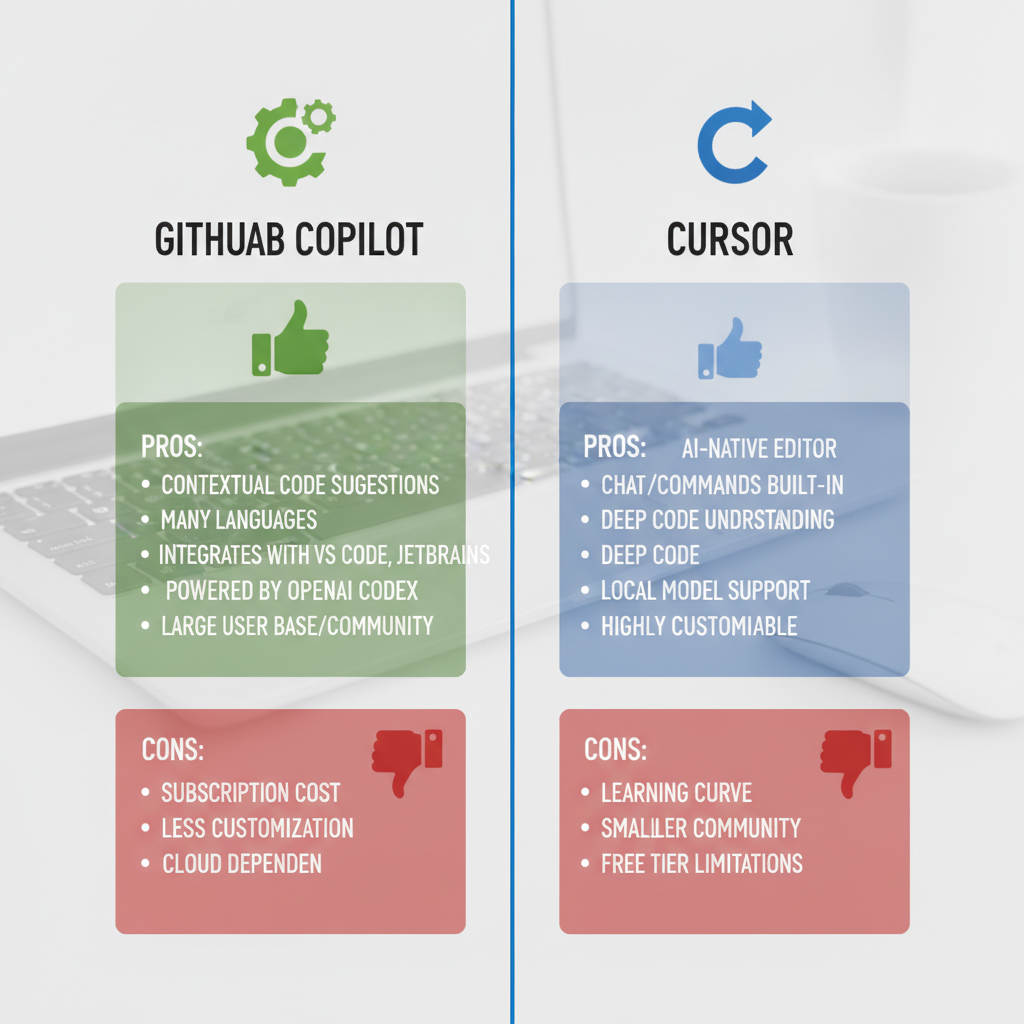
Strengths and Limitations: Key Points for Choosing an AI Agent
GitHub Copilot Strengths
GitHub Copilot Limitations
Cursor Strengths
Cursor Limitations
It’s important to choose the tool that fits your coding style and project requirements. Understand each tool’s strengths and weaknesses to optimize your productivity.
Who Should Use Which AI Agent?
Both tools have established themselves as essential AI productivity agents for developers. Using them together is also a viable strategy, depending on your needs.

Conclusion: Boost Coding Productivity with AI Agents
GitHub Copilot and Cursor have quickly become go-to productivity tools for developers in the age of AI. In this article, we compared everything from installation and core features to real-world usage, pricing, and limitations. Now it’s time to try them out yourself and choose the AI agent that best fits your workflow and development environment.
AI automation tools go beyond simple code completion—they also support collaboration and code quality management. If you’re interested in other generative AI tools, such as those for music production or image generation, check out the Suno AI Guide or the ComfyUI Automated AI Image Generation Pipeline Guide.
Just by choosing and using the right AI tools, you can significantly improve your workflow and code quality. Pick the AI agent that fits your coding environment and become a leader in digital transformation.
Services by Botonglee