Ordering Staff Uniforms or Aprons? Decide These Four Things Before the Design
Most people who want uniforms for their shop start with the design. They know the color they want, and they know where the logo should go.
The quote and the schedule, though, are shaped by decisions that come earlier than that. We are a small-batch apparel studio in Seoul, and over the years we have made aprons and uniforms for a café franchise, guest gowns and staff aprons for a wedding makeup salon, and staff uniforms for a scalp treatment clinic. In each of those jobs, the real turning points were the same four. They apply whoever ends up making your uniforms.
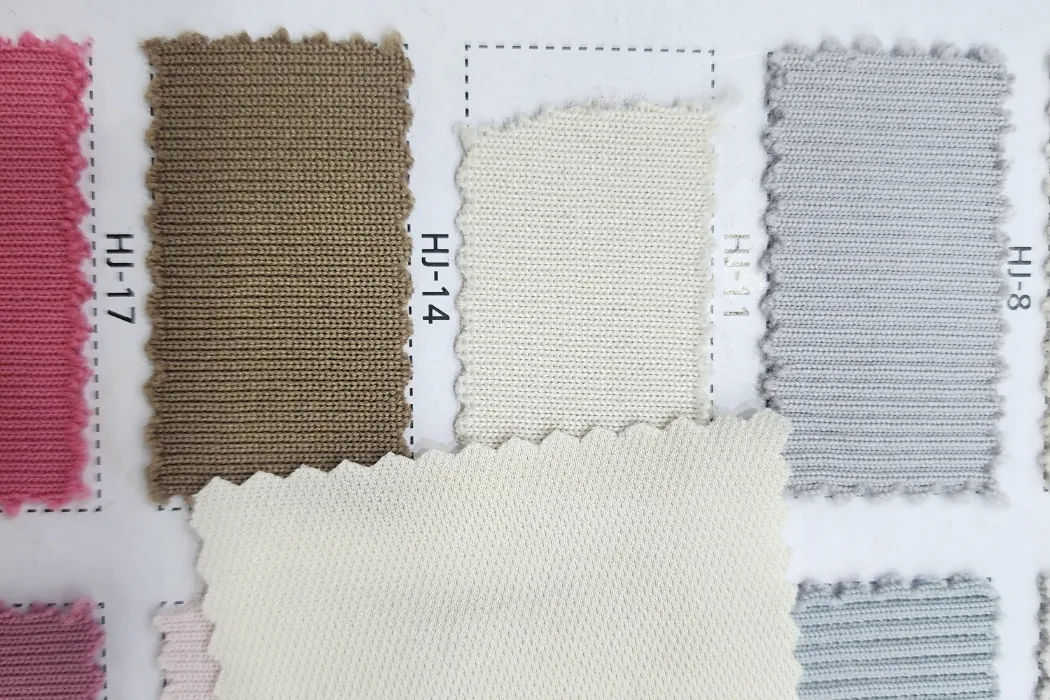
1. Choose the fabric by the work, not by the look
One salon order split into two fabrics, even though it came from the same client at the same time.
The gowns worn by the bride's and groom's parents were made in a more refined fabric, with the logo embroidered. Guests wear them, so the impression came first.
The staff aprons were made in a sturdy nylon with everyday water resistance. Salon work involves a lot of water, so staying dry and lasting came first.
The clinic uniforms followed the same logic. The staff pieces were produced in cotton twill, and only the owner's piece was made separately, as a single garment in a glossy pearl-coated fabric. Not everyone has to wear the same thing. When fabric follows role, the budget goes where it actually shows.
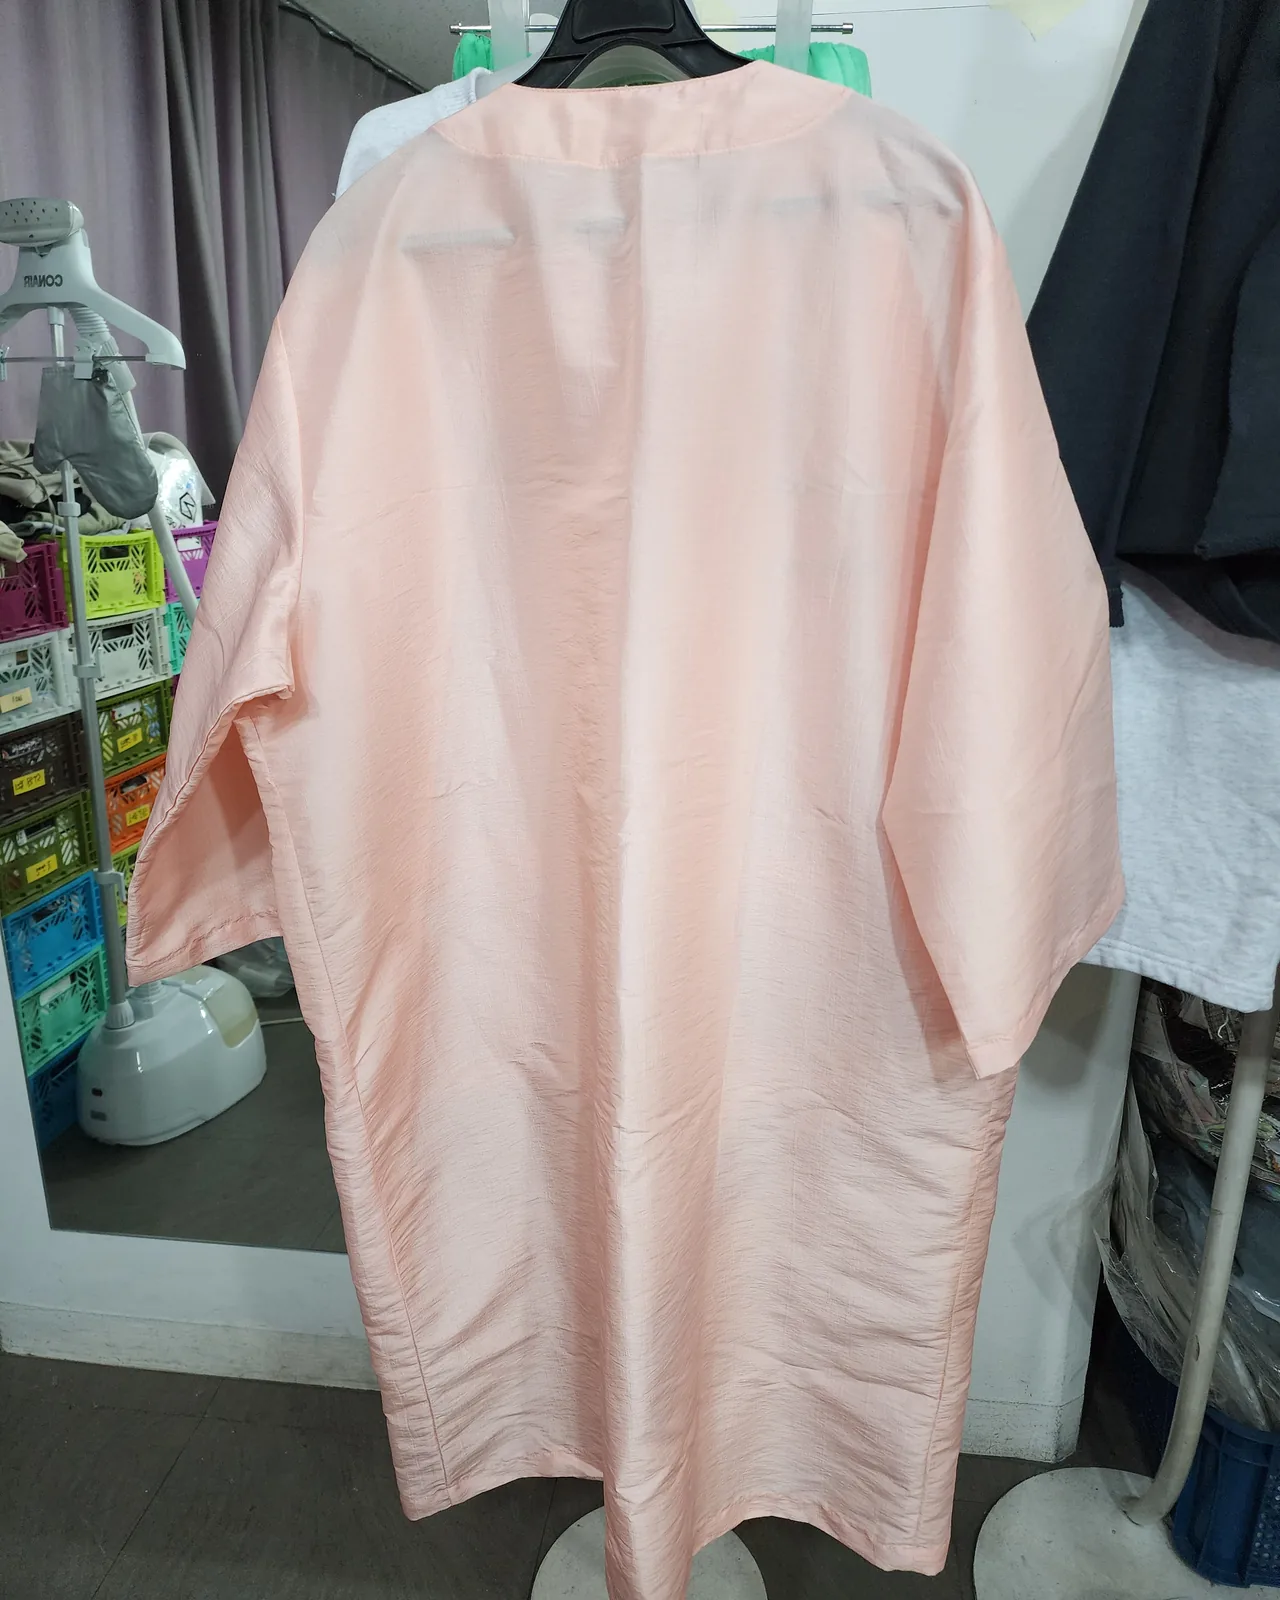
Before choosing a fabric, answer three questions:
With those answers, the shortlist gets short quickly. After that, you choose by touching the actual swatches.
2. The fit decides how many sizes you need
A common worry is having to collect measurements from every employee. Decide the fit first.
The clinic uniform was an oversized jumpsuit, and the staff version was produced in just two sizes. Garments that are meant to be worn loose do not need many size steps.
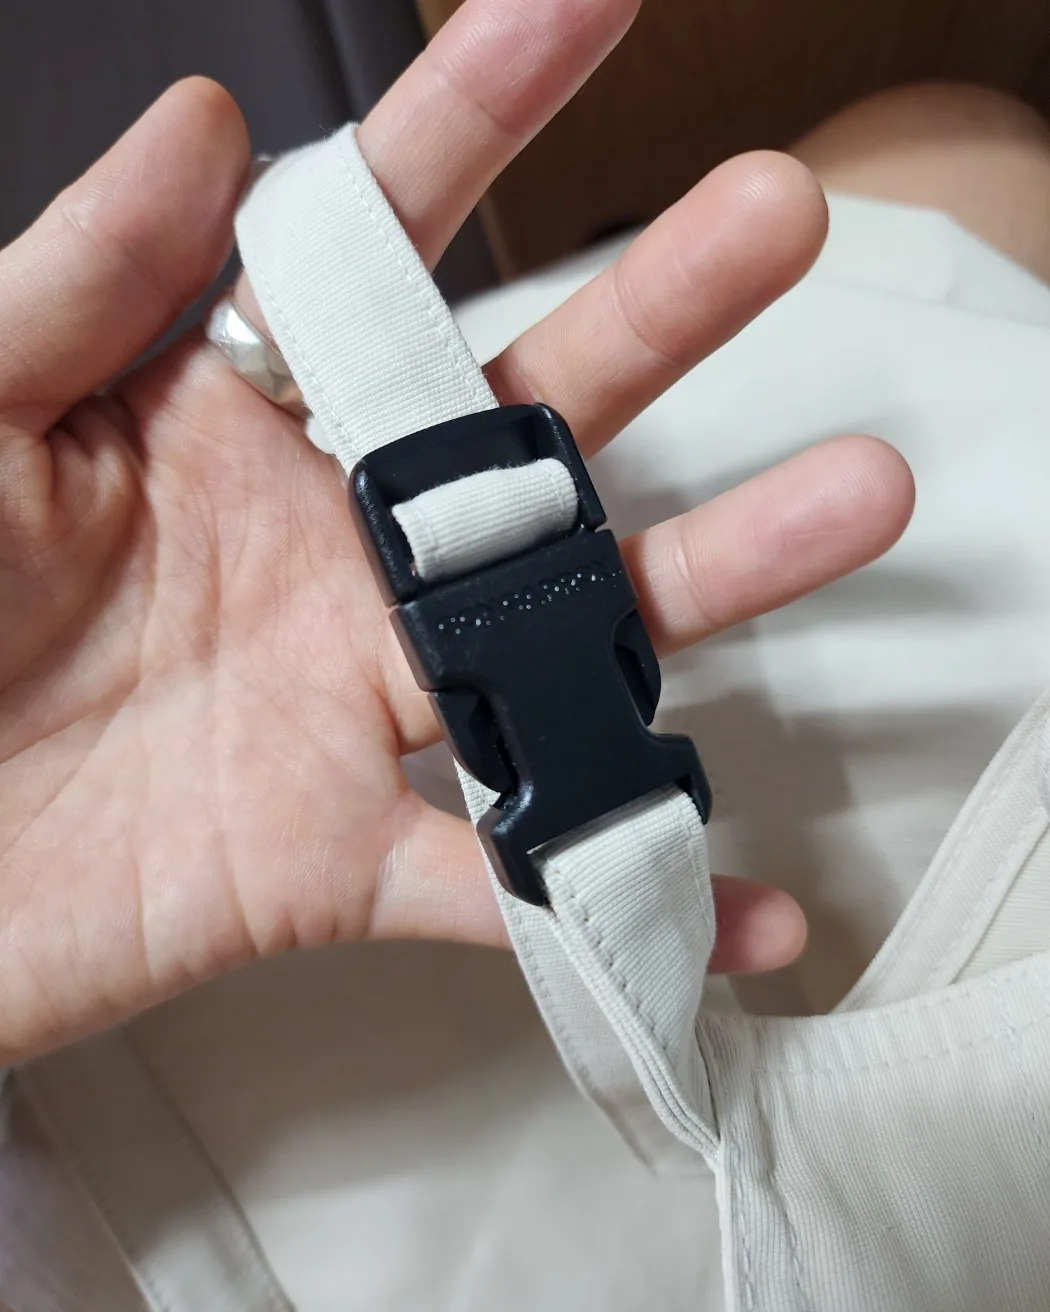
Aprons are simpler still. The café aprons had buckles on the shoulder straps, so each person adjusts the length. Once the strap fits, there is almost nothing left to size.
Fitted garments are a different story. When we made men's plus-size clothing, the lines changed from size to size, so we checked the gaps between sizes one by one, and we only signed off after a friend who wears 4XL tried the pieces on and told us what felt wrong. A unisex T-shirt in XS to XL took three rounds of sampling before the fit was right.
Every extra size means another sample to check, and a grading charge for the size-by-size pattern. For uniforms, decide first whether the garment is worn loose or fitted, and only then decide how many sizes. It is better for both the budget and the timeline.
3. Decide where the logo goes before deciding how it is applied
People often start by debating embroidery versus print. In practice, what changes more often is placement and size.
So the order matters. We make the sample first, then hold the print or embroidery up against the real garment to set its size and position. A logo that looks right on a screen often reads differently on fabric.
The logo also does not have to sit on the chest. For the salon staff aprons, we dyed the tape that becomes the strap and printed the logo on it. The body of the apron stays clean, and the brand shows on the strap. The clinic uniforms, by contrast, carried the logo and symbol in embroidery.
Roughly speaking, embroidery is stitched in, so it looks raised and tidy, but very small lettering and images with many colors are hard to render. Print suits larger areas and multi-color artwork.
You do not need finished logo files. The graphics for print and embroidery can be redrawn as illustrations. When you ask for a quote, one line such as "embroidered logo, left chest" is enough.
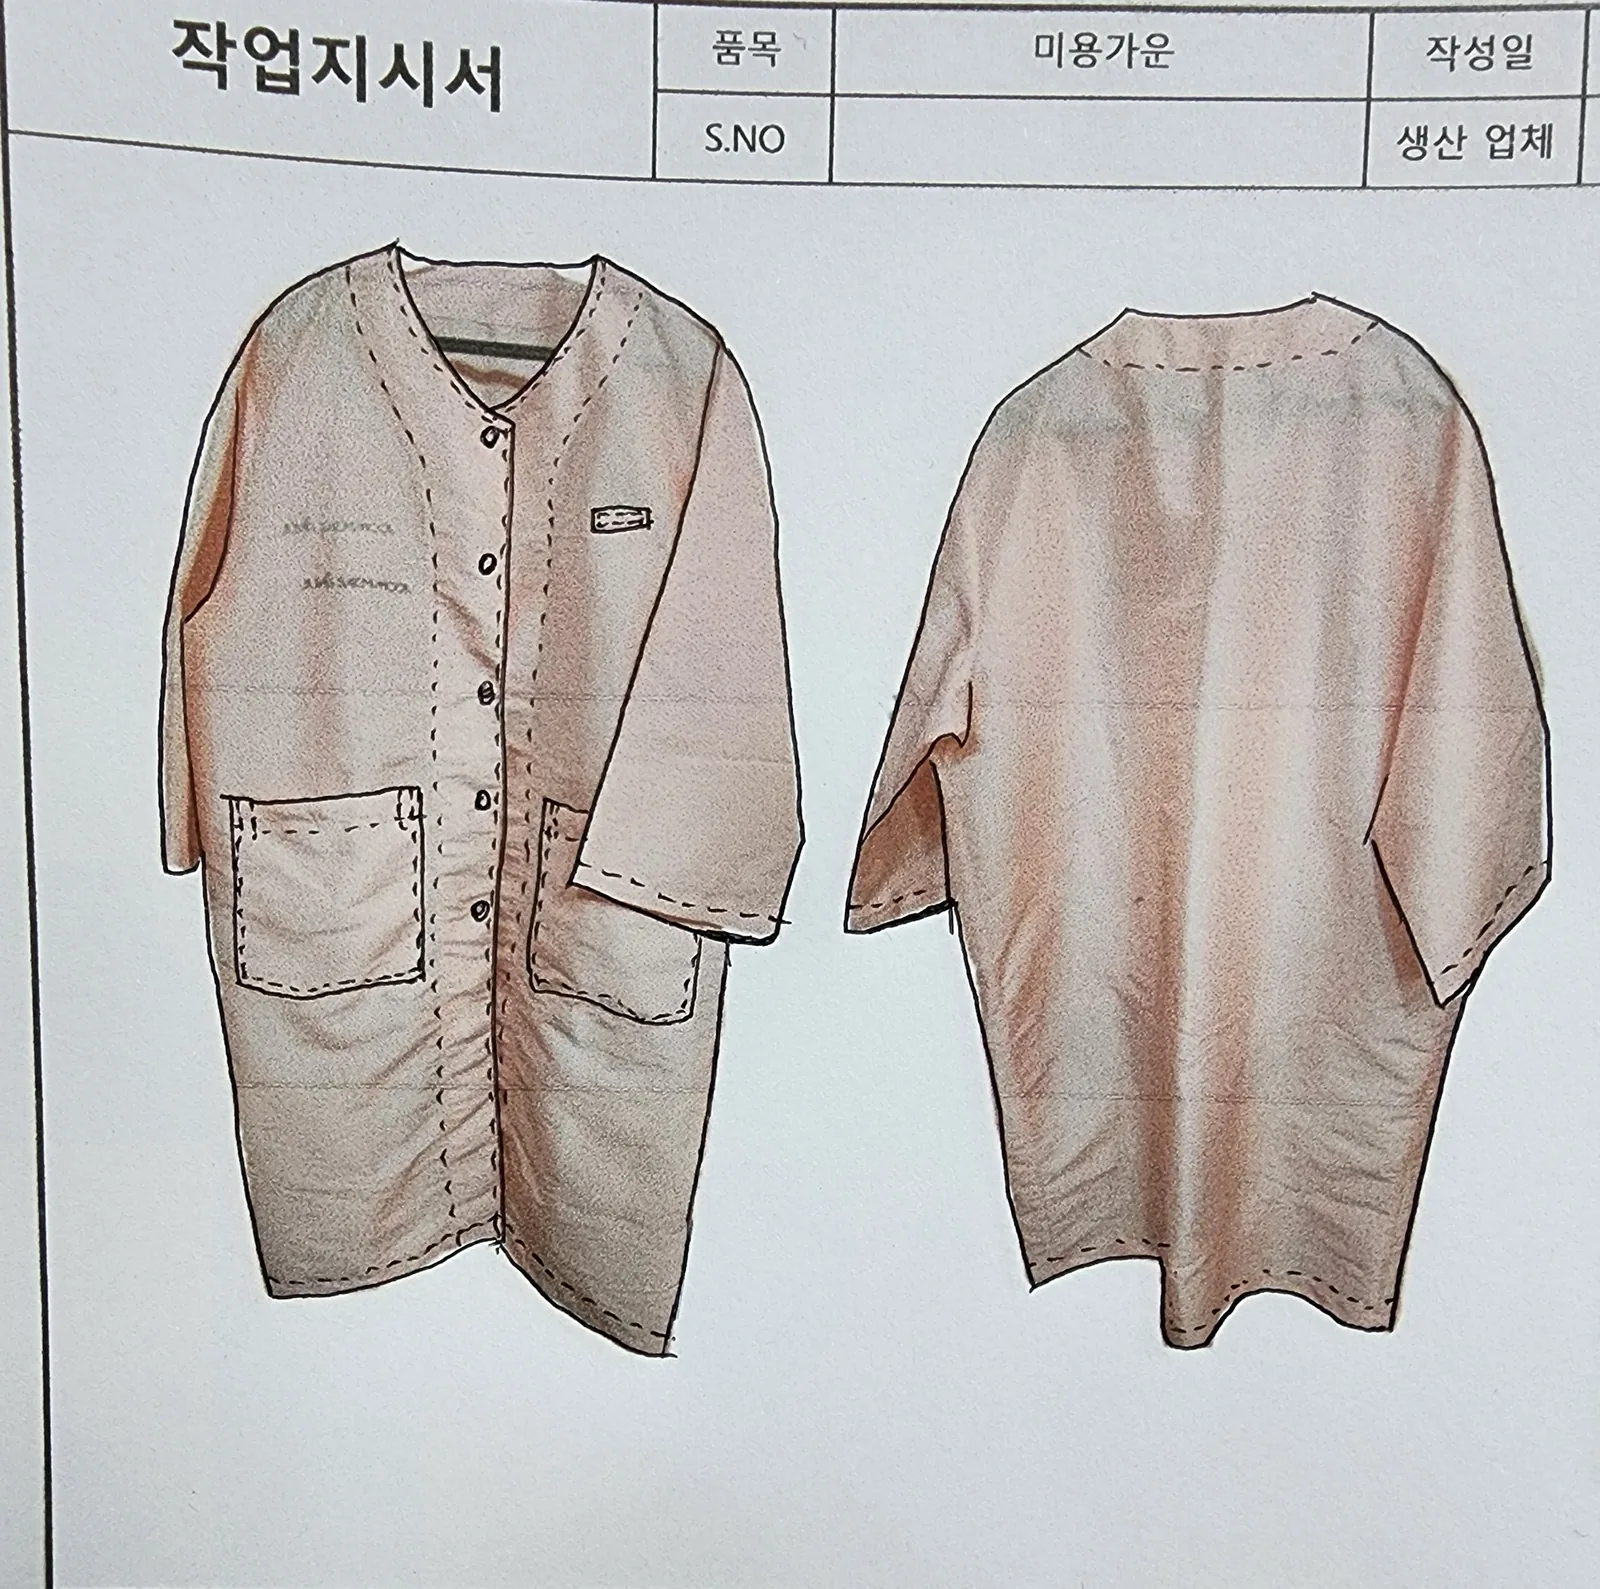
4. One reference garment saves a meeting
One of the quicker jobs was the café franchise. The owner already had a design in mind and handed us existing products to work from, so the meeting was short. From those references we built the pattern and sourced fabric swatches and trims.
The reference does not have to be new. A garment you already like, or a few photos of something close, is enough. What matters is having something to point at: "about this length," "a heavier fabric than this."
Distance was not a problem either. The café was far away, so we sent swatches by courier, received the chosen ones back the same way, and handled the rest by phone. For clients outside Korea, finished goods ship by air or sea freight.
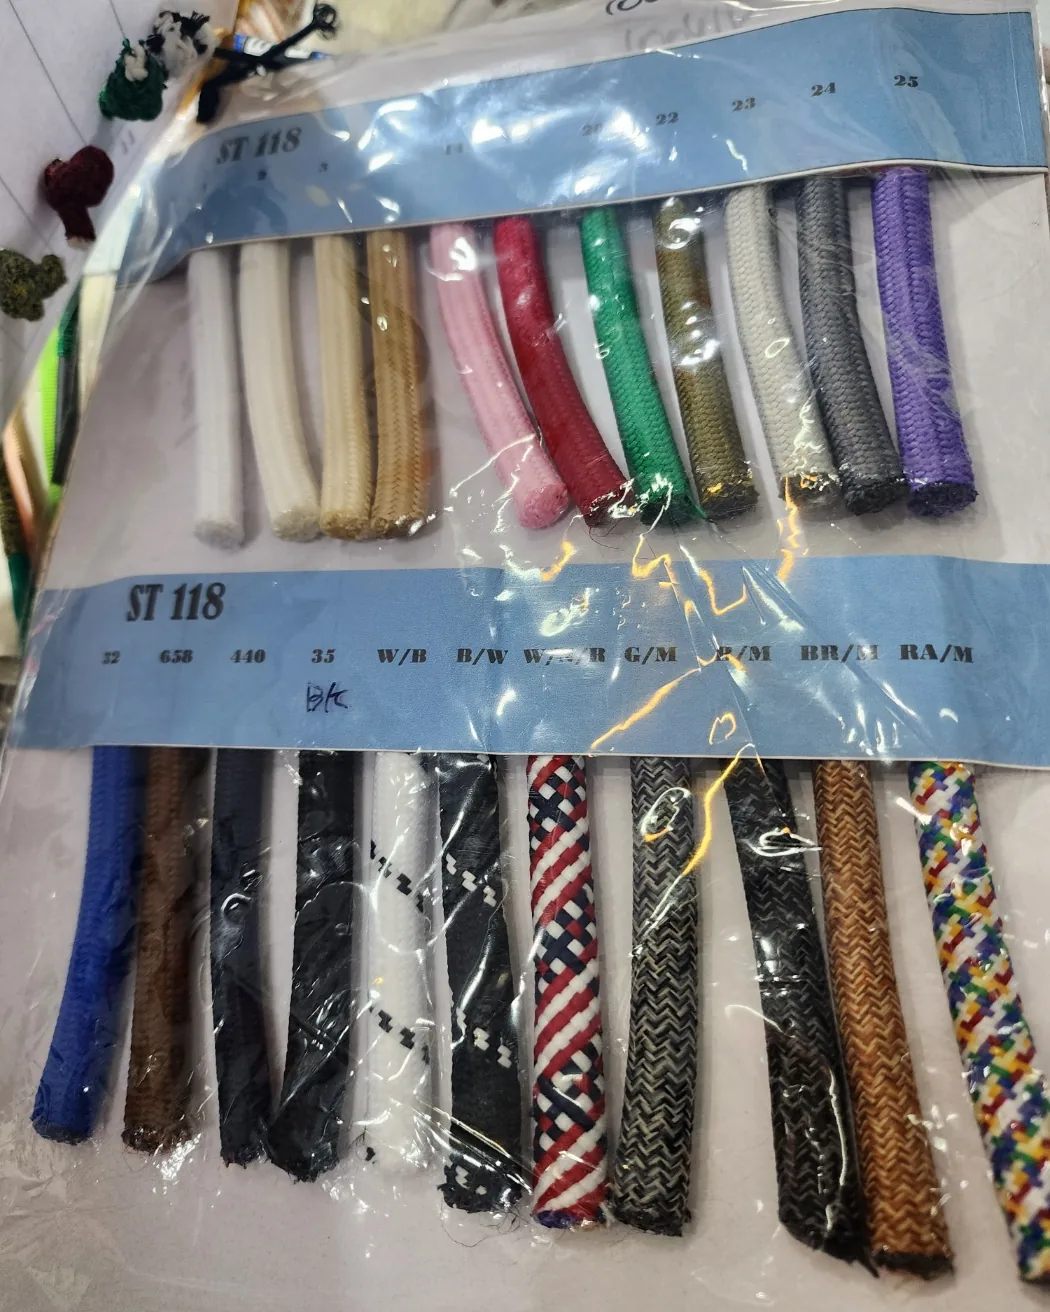
One more thing: if there are several items, mention all of them at the start. In the café order, the aprons, the uniforms, and the giveaway items each went to a different factory to keep costs down. Factories have different strengths, and the most reasonable place to make one item is often not the right place for another.
The same goes for difficult construction. The clinic jumpsuit had sleeves that zip off, turning long sleeves into short ones. The garment was big, long, and tricky, and the factory found it hard going. It came out well, but a request like that needs to be known from the start so the right factory can be chosen.
Count the schedule backward from the day you need them
Sampling takes about two weeks on average, and bulk production about two to three weeks, depending on fabric and trim supply and on the factory's workload. Sample plus production alone is four to five weeks. Add meetings and time to choose fabric, and starting about six weeks before an opening or an event is the safe margin.
If you also want branded labels, they take a separate one to two weeks, so order them at the sample stage. We cover that in more detail in our post on sample costs and scheduling.
You can order a single piece, but the more pieces you make, the lower the cost per piece.
In short
If you are planning uniforms or aprons, start by telling us what you need, how many, and by when. If you have a reference garment or photos, send them along.
Request a uniform quote · Common questions are answered in the FAQ, and past work is documented in the production archive.
Services by Botonglee