How to Use a Two-Hour Rental Studio Booking for a Self-Portrait Shoot
Booking a photo studio is the easy part. Using the booked time well is harder, especially when you are both the subject and the photographer.
Your session does not begin with the first photograph. Carrying equipment in, choosing a background, setting the camera, testing the light, changing clothes, checking the files, and returning the space to its original condition all belong inside the reservation. If you treat two hours as two full hours of shooting, the final twenty minutes become a rush.
Botonglee Studio's minimum booking is two hours. This is a practical way to divide that time, based on how the studio is equipped and how first-time self-directed sessions tend to unfold.
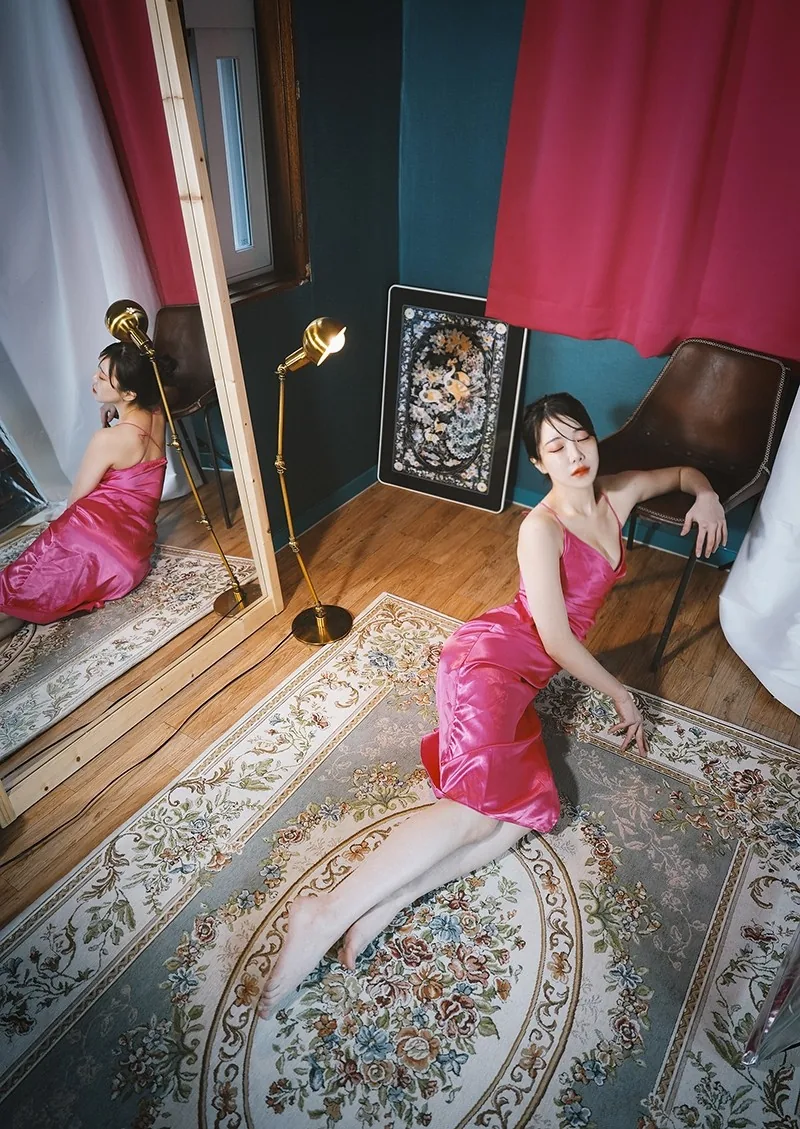
Divide the booking before you arrive
A simple starting plan is:
This is not a rule that every visitor has to follow. It is a guardrail for the two tasks that are easiest to underestimate: changing the setup and restoring the room. Every additional outfit, backdrop, or lighting idea creates another transition. For a first visit, two concepts are usually more useful than a long list that cannot be finished.
Bring the camera-specific pieces yourself
The studio has strobe lights, continuous lights, backgrounds, shooting props, and tripods available for guests to use. That does not mean every camera will connect to every accessory.
Bring these items with you:
There are tripods in the studio, but the mounting plate or connection may not match your camera. The same problem applies more strongly to shutter remotes and flash triggers. Those are not generic accessories, so checking compatibility before leaving home can save a large part of the session.
It also helps to keep a fallback plan. If the strobe connection does not work, you can still shoot with window light and the continuous lights.
Choose between window light and a controlled lighting setup
At Botonglee Studio, the most favorable natural light is around 9 a.m. and 5 p.m. Weather and season still change the strength and direction of that light, so a cloudy booking at the same hour will not look identical to a clear one.
If soft daylight is central to the result you want, book around one of those times and be ready to add a continuous light when the sky is dim. If you want a darker portrait, close off the daylight and build the image around one light instead.
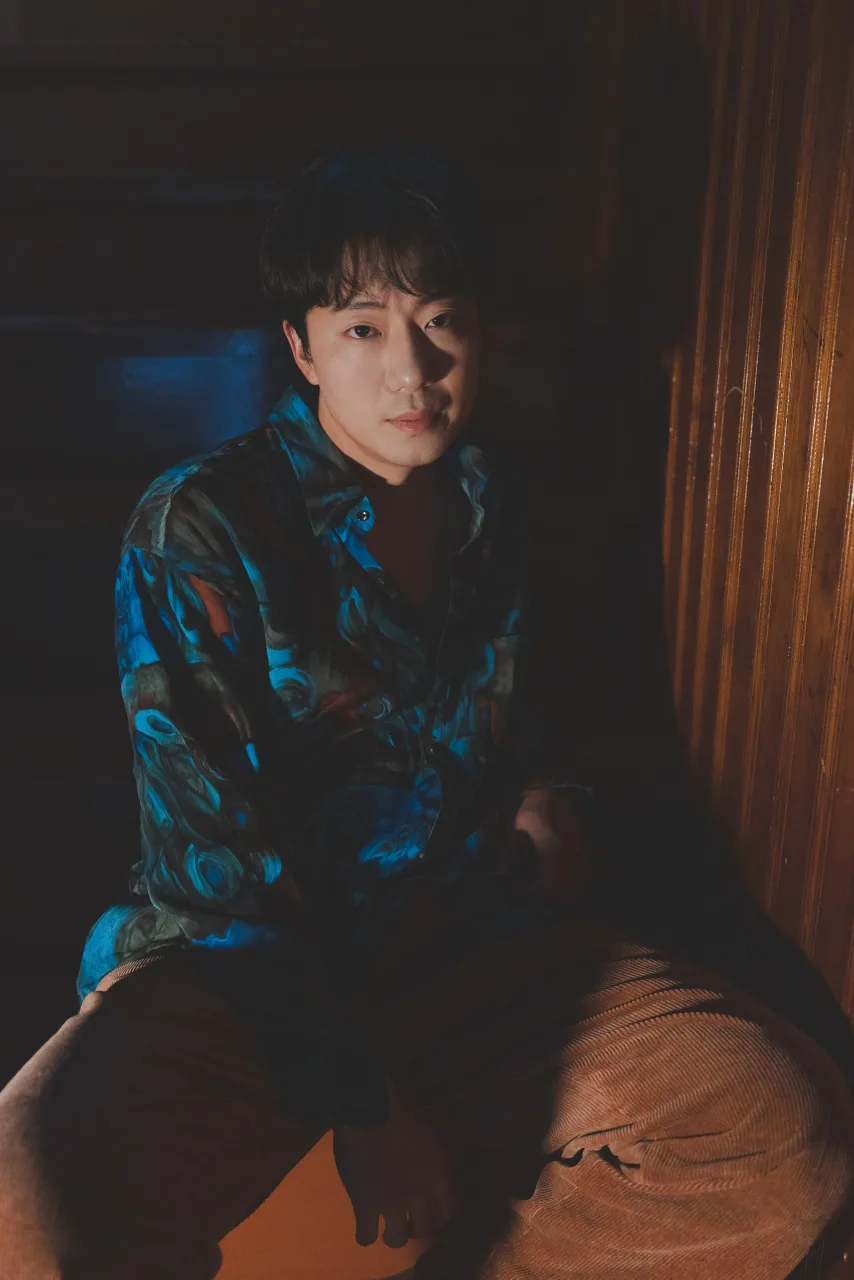
Natural light is an option, not the definition of a good studio photograph. Deciding on the mood before the booking matters more than trying every available light after you arrive.
Decide on the background from the intended use
The studio has chroma-key backgrounds, primary-color backgrounds including red, yellow, and green, a black background, and a large white background cloth. Availability and condition can change, so confirm in advance if one exact color is essential.
Choose the background by where the finished image will be used:
This decision is worth making before the session because changing a large background is not a one-minute adjustment. It affects the camera position, lighting, and the floor area around the subject.
Treat mirrors as part of the set
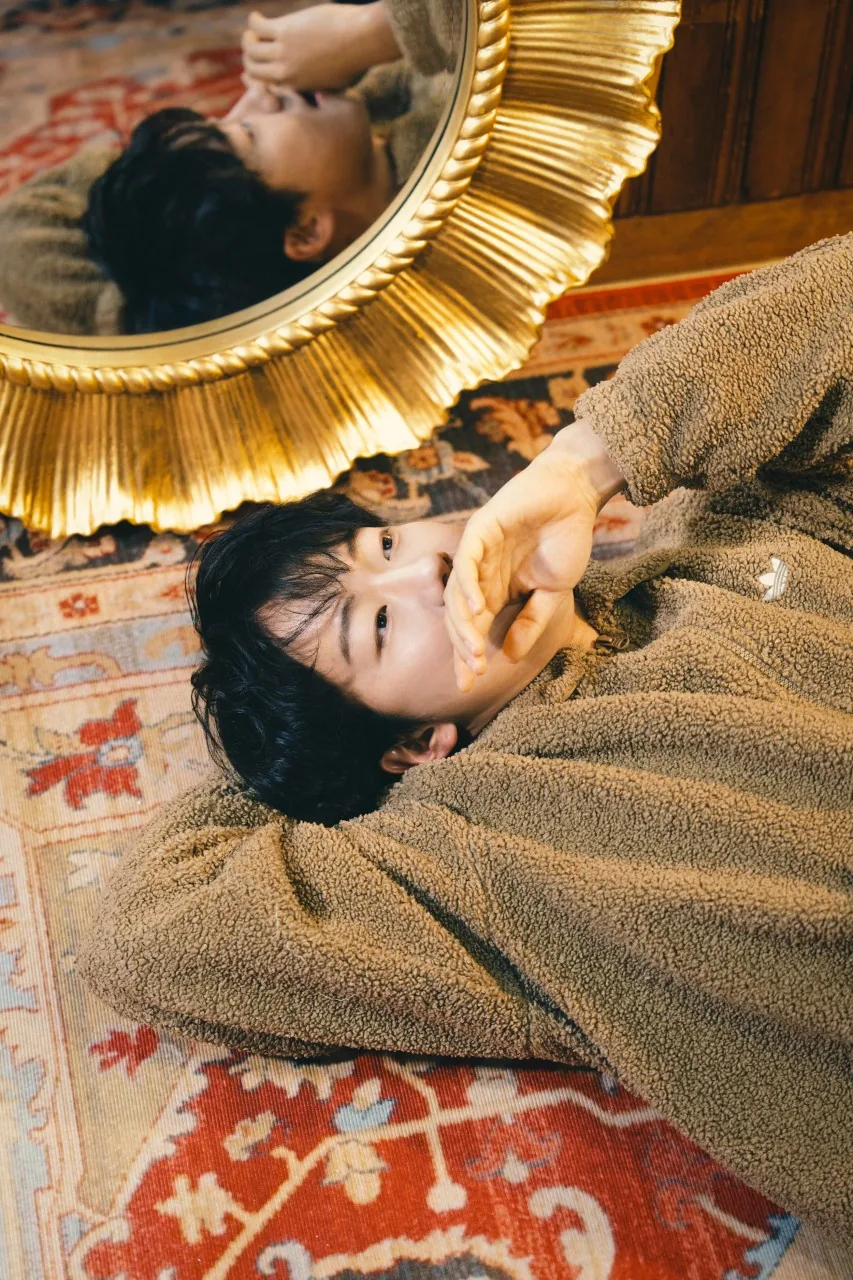
There is a full-length mirror for checking an outfit and a round gold mirror that can be used as a prop. Clothing changes are made in the restroom; there is no separate changing room.
Mirrors are particularly useful when you are shooting yourself. They can place a reflection and the subject in the same frame, show two angles at once, and create a natural pose without asking you to look directly into the lens every time.
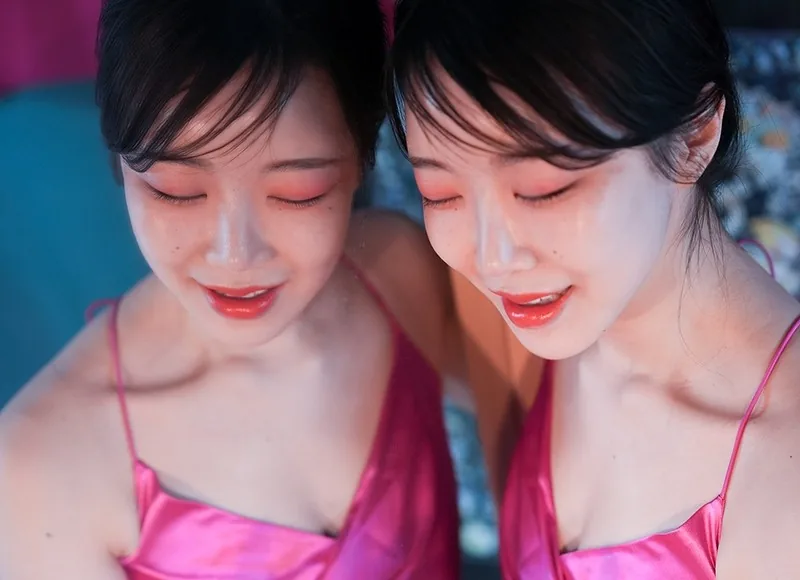
If you bring more than one outfit, count the changing and grooming time separately. Prepare the first outfit before the booking begins when possible, then place the next outfit where it can be reached without unpacking the rest of your luggage.
Take more workable frames instead of chasing one perfect frame
The most common self-shoot problem is not a broken camera. It is spending too long trying to perfect a single angle.
Move the camera, change your distance, and make enough frames to compare later. Do a quick check for focus and exposure, but avoid enlarging and judging every photograph while the clock is running. A varied set of technically usable images gives you a better chance of finding a strong frame than one pose refined under pressure.
Reserve the detailed review for the final block. Before packing, confirm only the essentials: the files are saved, the subject is in focus, and each required concept has at least a few usable photographs.
A checklist for the day
Before leaving home:
Before leaving the studio:
If you would rather be photographed
Studio rental is designed for guests who will direct and make the photographs themselves. If you want photography included, ask separately when you inquire. Depending on the date and purpose, Botonglee also photographs ID and passport portraits, couple portraits, actor profiles, semi-self wedding sessions that combine indoor and outdoor locations, and wedding ceremonies. Weekend availability needs to be coordinated because ceremony assignments are common.
For current availability, rates, capacity, and booking conditions, see the Botonglee Studio page. When you inquire, include the purpose of the shoot, the number of people, and the camera equipment you plan to bring.
Book through SpaceCloud · View the studio and inquire on Naver
Services by Botonglee