The Garments Arrived and You Have No Photos: Three Ways Small Brands Get Product Shots
The sample is approved. Bulk production is running. You exhale.
And then one thing is still missing: how are these going to be photographed?
Garments sitting in a warehouse cannot be sold without images, and this is exactly where a lot of small brands stall.
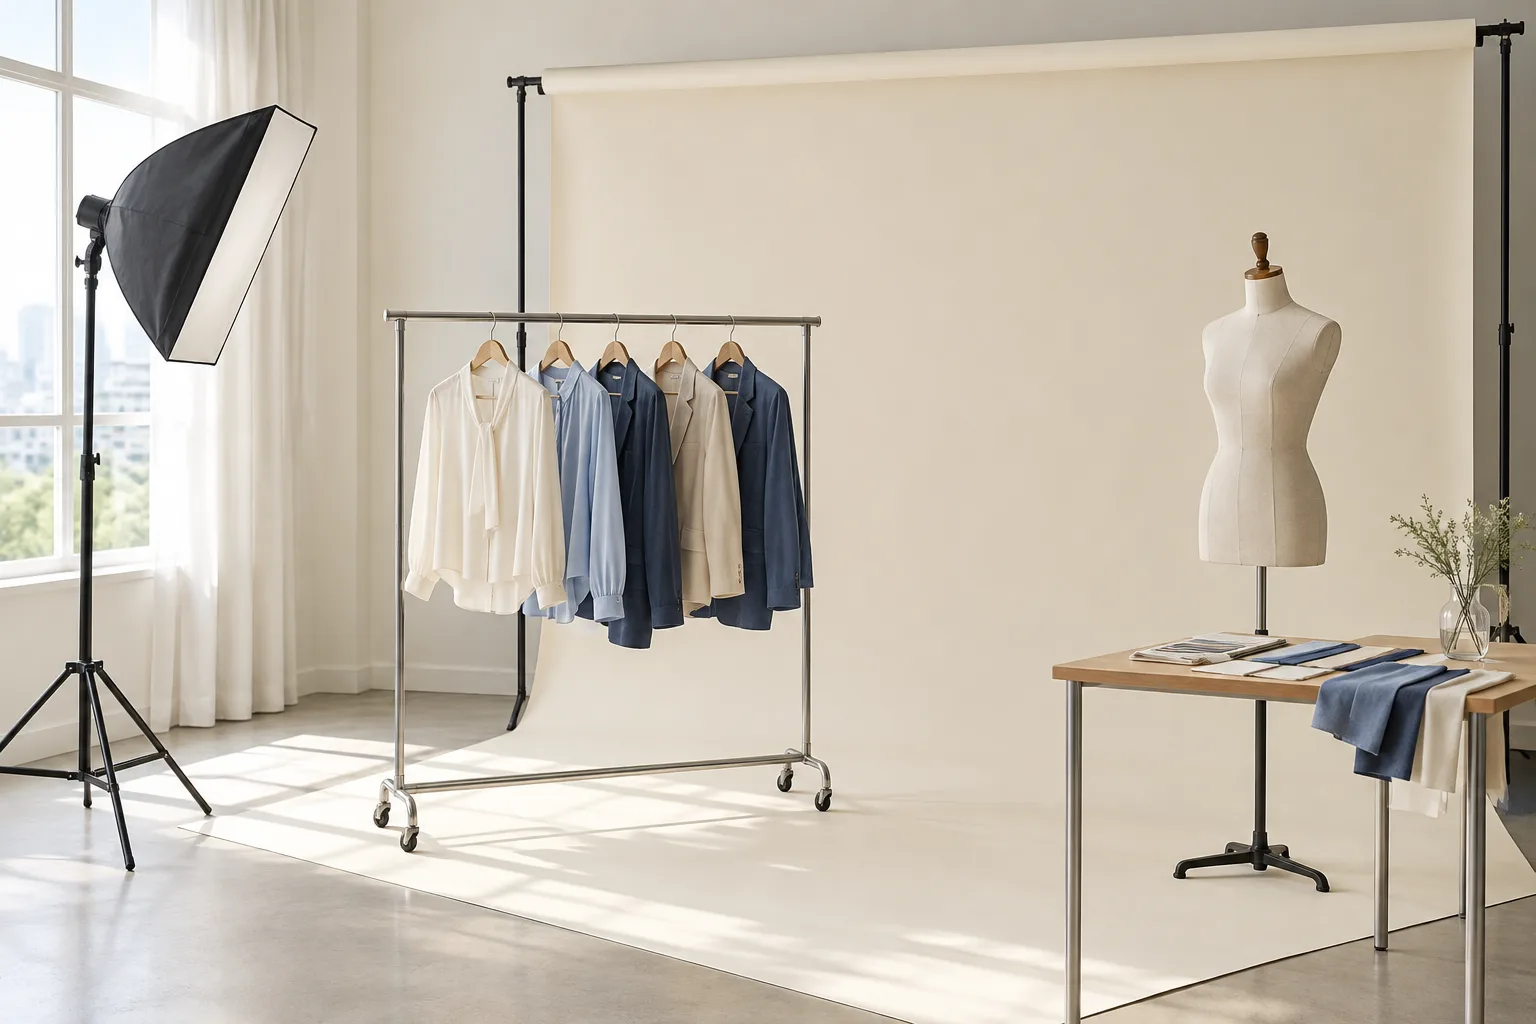
Manufacturing gets cheaper per unit. Photography does not.
Apparel production has economies of scale. The pattern is drawn once, the grading is done once, the tooling is cut once. Make more units and the cost per garment falls.
Photography has no such curve. Whether you produce 100 pieces or 1,000, the studio is rented for the same hours, the model is booked for the same day, and the same number of frames must be retouched. Worse, it scales in the wrong direction: every additional style and colourway adds shooting time and retouching.
So the smaller your run, the larger photography looms as a share of your total budget. Five styles in three colourways is fifteen SKUs to manufacture — and considerably more than fifteen images to produce.
There are broadly three ways to solve it.
Option 1 — Book a model and shoot in a studio
The most reliable option, and the most expensive.
How the fabric actually falls, what creases appear in movement, how a colour reads under lighting — these come out accurately only in a real shoot. For garments where drape is the point, or where the material itself is the product, nothing else substitutes cleanly.
The cost stacks in layers: studio space by the hour, the photographer's time by the hour, retouching by the frame, and the model's fee on top of all of it.
The difficulty appears as the range grows. Shooting every colourway multiplies both studio hours and retouching volume.
Use it for hero shots. The few images that become the face of the brand, the main banner, the look that represents the season. That is usually enough.
Option 2 — Mannequin and flat lay
Photographing the garment alone, either dressed on a form or laid flat and shot from above.
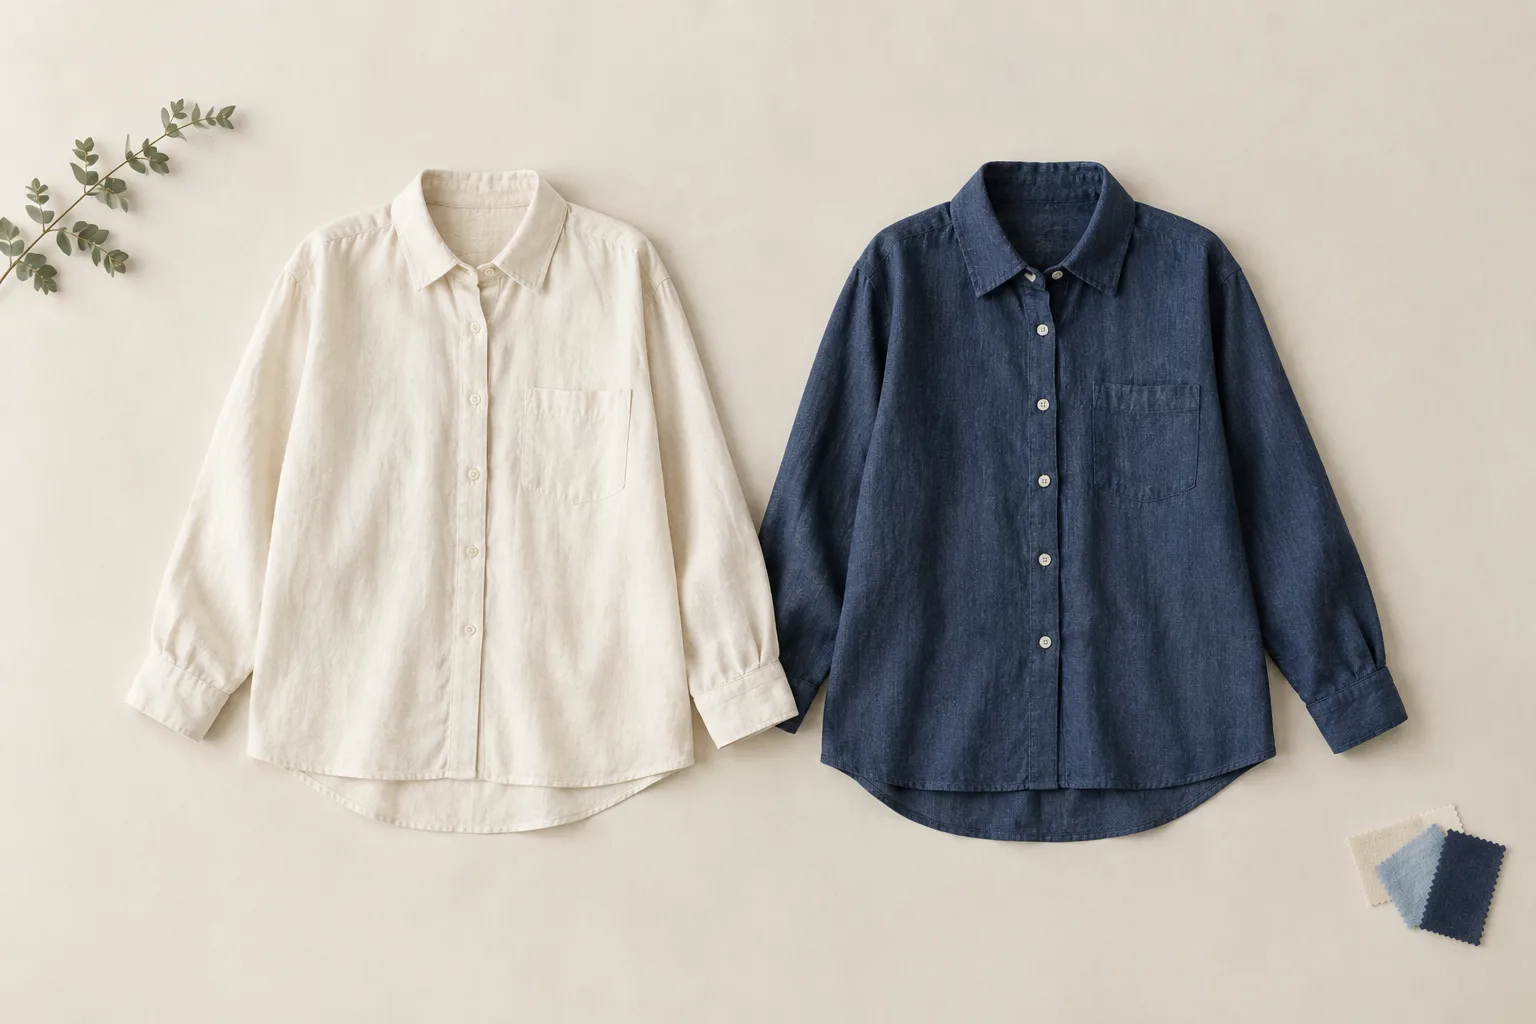
It is fast and inexpensive. Colour and detail come out accurately, and a large range can be photographed in a single day. For showing fabric texture, seam construction, and hardware on a product page, nothing beats it.
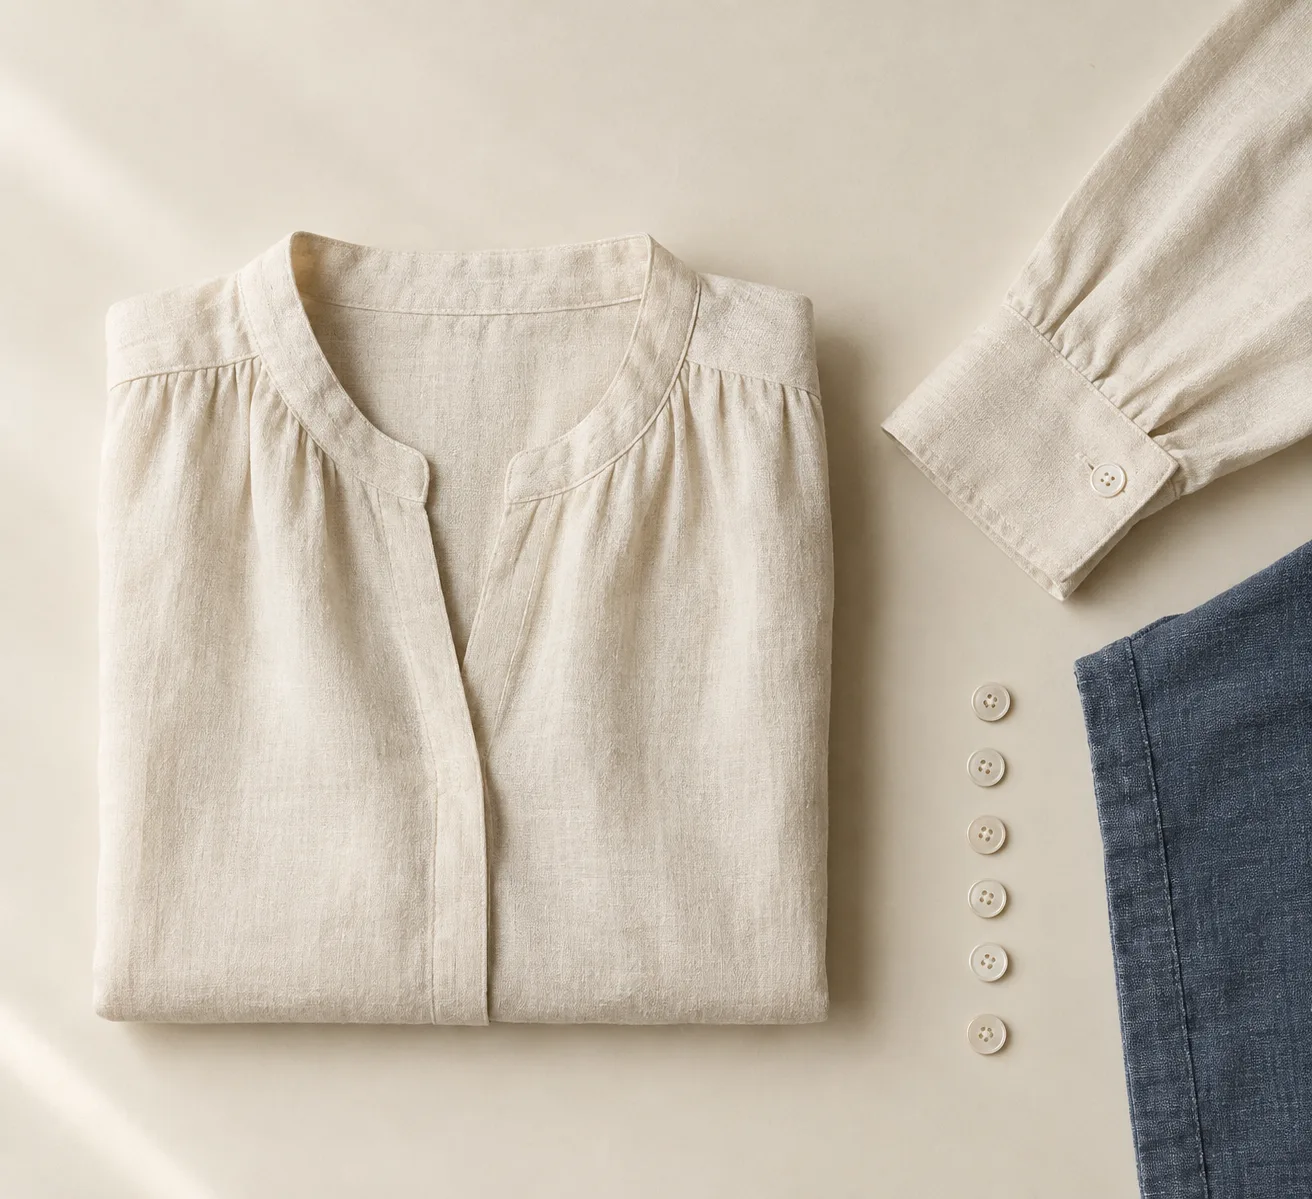
The limitation is equally clear. You cannot see the silhouette on a body. Where the shoulder sits, where the waist falls, how long it actually is — the things a buyer most wants to know are absent. Without that information people order the wrong size, and that comes back as returns.
Use it for supporting shots. A product page built only from flat lays converts poorly.
Option 3 — Generate the on-body shots with AI
This became a realistic option only recently. You upload a photograph of the garment and the model wearing it is generated.
This is what WEAROOM, the product I build, does. Upload the garment and you get on-body shots; you can generate a model with the look you want or upload your own. Lookbooks, product advertising images, video generated from a single still, and longer story videos assembled from several clips all run in the same place.
The gap widens with range. When there are many colourways, when the season is too short to schedule a shoot, when the same garment needs to appear against several different backgrounds — those are exactly the cases where a real shoot means going back and doing it again each time.
What it actually looks like
This is the cream shirt from the flat lay above. One flat lay image and one model image — made earlier for WEAROOM's own promotion — were uploaded.
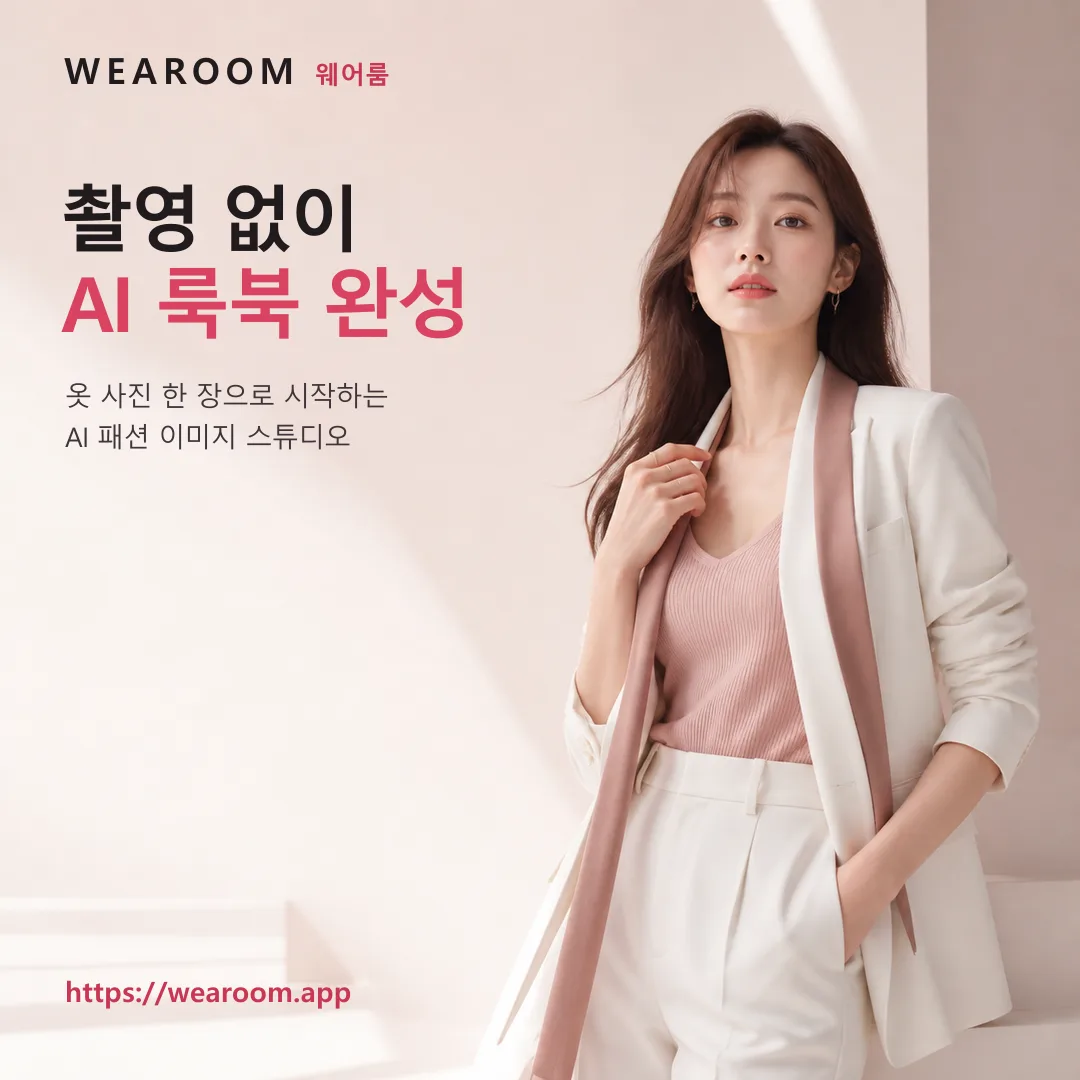
Here is that model wearing the shirt. The background was specified as well.
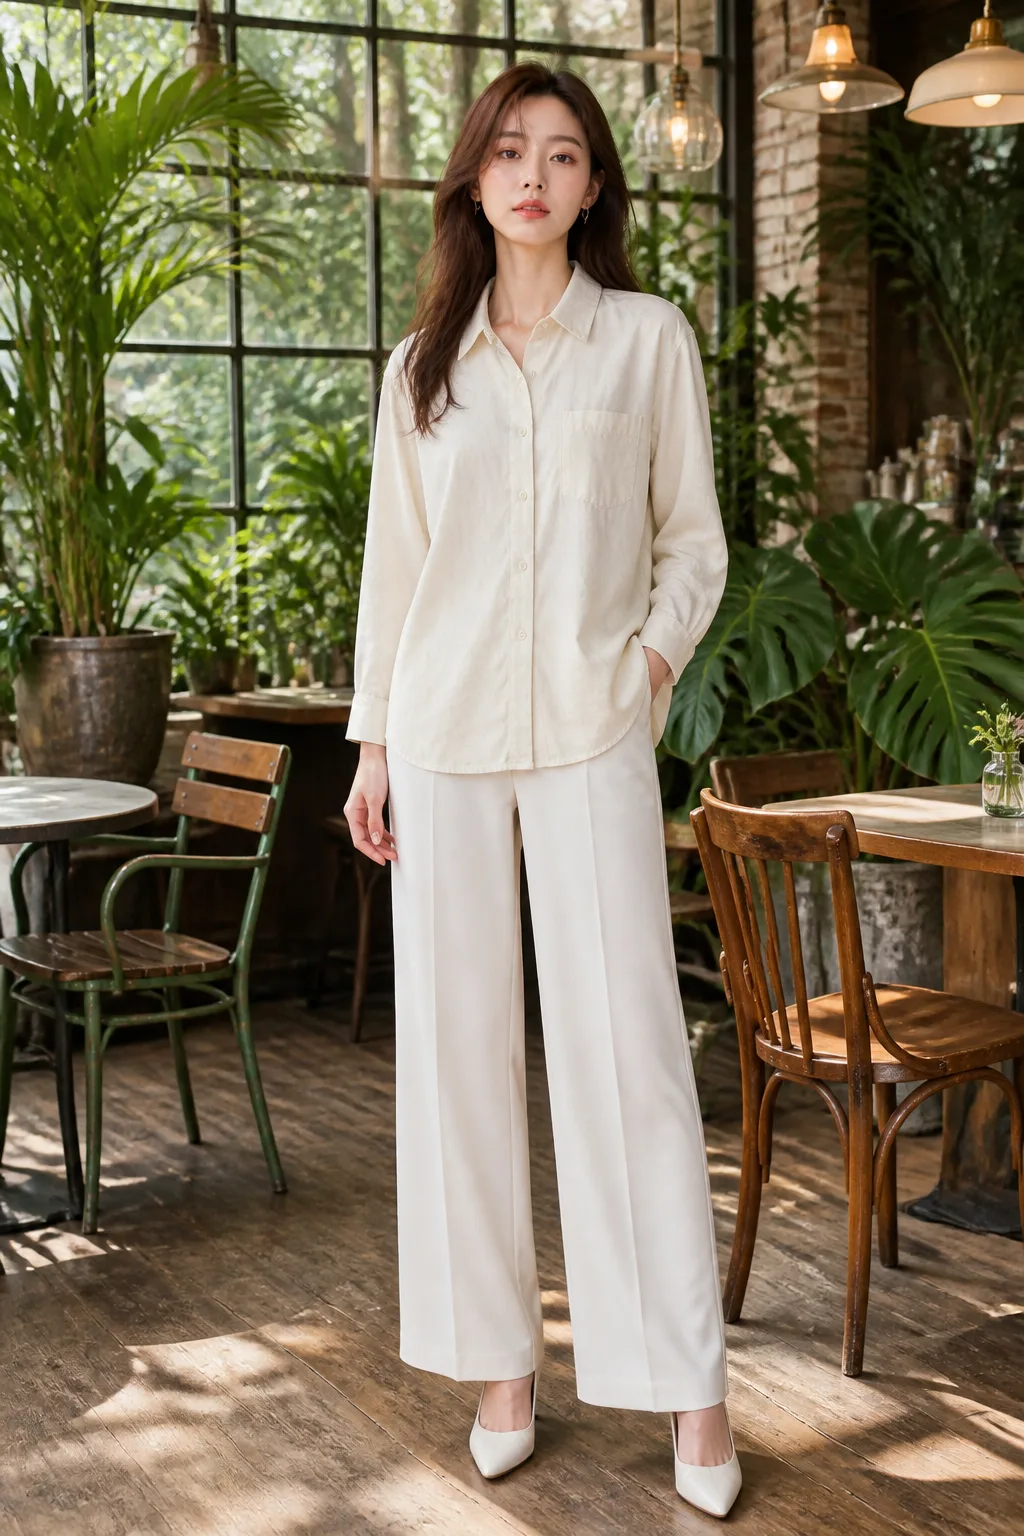
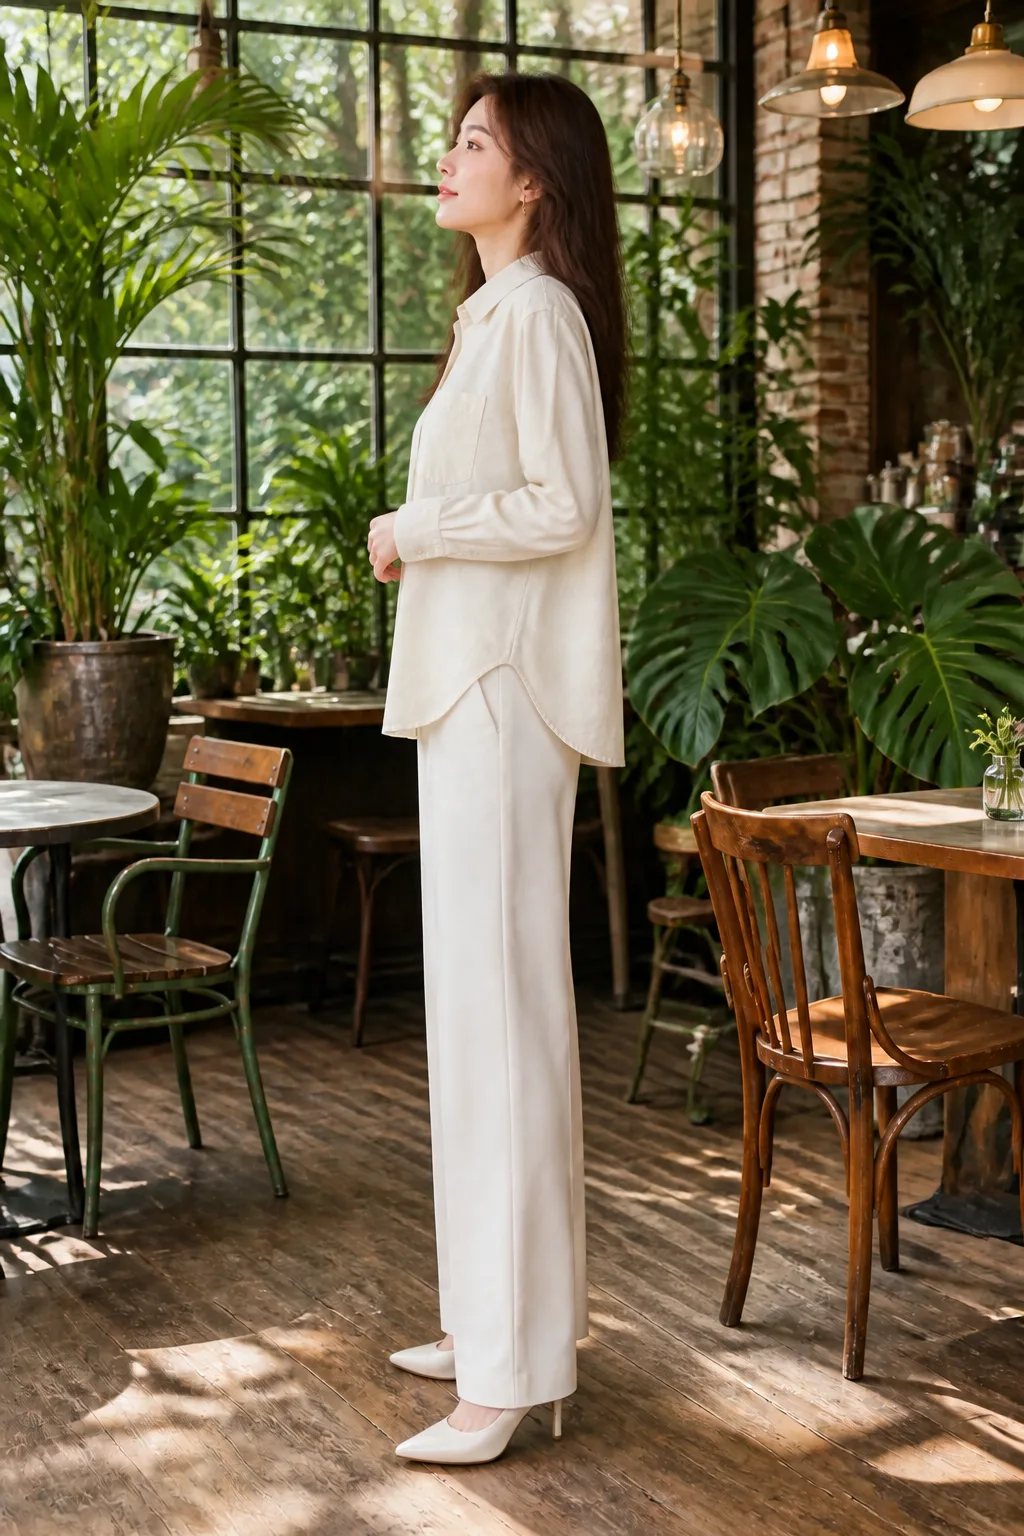
Front and side, from the same garment. In a real shoot that means booking a model, booking a studio, and photographing both angles separately — repeated once per colourway.
To be straightforward about the limits: fine material texture is still better captured in a real shoot. For unusual fabrics, for garments where sheerness matters, for pieces whose selling point is a subtle sheen, it is safer to photograph the hero shots for real.
In practice you mix all three
This is not a question of choosing one. Most brands end up dividing it like this:
Split this way, the photography budget stops scaling linearly with the size of your range.
Photos behave like labels: starting after bulk production is starting too late
In the previous article the point about labels was that they take one to two weeks to make, so ordering them after bulk production means finished garments waiting in a box for a woven strip.
Photography works the same way.
If you begin scheduling a shoot only once stock arrives, your on-sale date moves back by the whole chain: studio booking, model availability, shooting, retouching, and building the product page. Together that is not a short period.
There is a practical trick here. Shoot the sample when the sample arrives.
The sample is the first moment the garment exists physically. It is made from the same pattern and the same fabric as the production run. Photograph it then, and your product page is ready at the moment bulk production finishes.
You only have one size, so you cannot capture everything — but hero shots and detail shots are entirely possible. The variations can be built from those afterward.
In short
If you are planning production and photography together, tell me how many styles you have and when you need to be on sale, and I will map out which combination fits.
Request a production quote · Studio and photography rates are published on the studio page. AI on-body shots can be tried directly at WEAROOM.
Services by Botonglee